Are you looking for some helpful tips and advice on how to plasterboard curved ceiling?
If so, there’s no denying that this can be a tricky project to tackle, especially if you’re somewhat limited with your DIY skills.
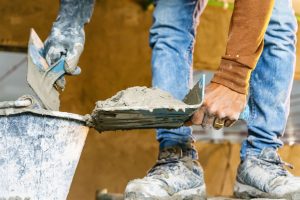
For example, installing plasterboard itself can be quite challenging if you’re a beginner, but dealing with a curved ceiling can often make the task a little more complicated still.
As such, there’s no shame in hiring a professional to perform this tricky task for you, as it will ultimately ensure that you will achieve the kind of high-quality results you’re looking for.
Now, in some cases, you may be able to cover a small radius curve without too much difficulty, particularly if the ceiling is only slightly curved at one end.
These tasks tend to be a bit more simple and straightforward when compared to a fully curved ceiling that may require more of a specialist approach.
An important tip to consider when you’re learning how to plasterboard curved ceiling will be the importance of having some help.
You’ll often find the task much easier with a second pair of hands that can help you to line everything up correctly, and there’s no denying that a second pair of eyes can help you to avoid any mistakes you might be making, too.
The basic approach to working with a curved ceiling will be to begin fixing the plasterboard from just the one end, and gradually attach the edges of the plasterboard as you work along its length.
Just as you’d expect, this will allow you to take into account the natural radius of the ceiling, rather than jumping straight in and attaching it at both ends, which could lead to unpredictable or unsavoury results that you later regret.
Another useful technique is to make sure you’re cutting the plasterboard sheet a little longer than is actually required, as this will allow you to cut off the excess later, while making sure you have adequate plasterboard to account for the curvature of the ceiling.
There’s nothing worse than perfecting the curve, only to discover the plasterboard is a little too short, so you’d have to start all over again.
Of course, this can be very frustrating for even the most seasoned and keen DIY fanatic.
Some people like to ensure the plasterboard is easily curved by gently wetting it down with a damp sponge or paper towel first, and you’ll only have to do this one or two times before you can add some extra bend and pliability to it.
In some cases, this can make the task much easier and nearly effortless, just as long as you take your time with the installation.
At the end of the day, it’s easy to see that learning how to tackle a curved ceiling project with plasterboard can be very challenging but armed with these tips and plenty of patience, you should be able to put a nice finishing touch to your ceiling project without much concern.